How Can I Change the Bucket Teeth of an Excavator?

Keywords: bolt on bucket teeth, bucket teeth, excavator bucket teeth
Excavator bucket teeth
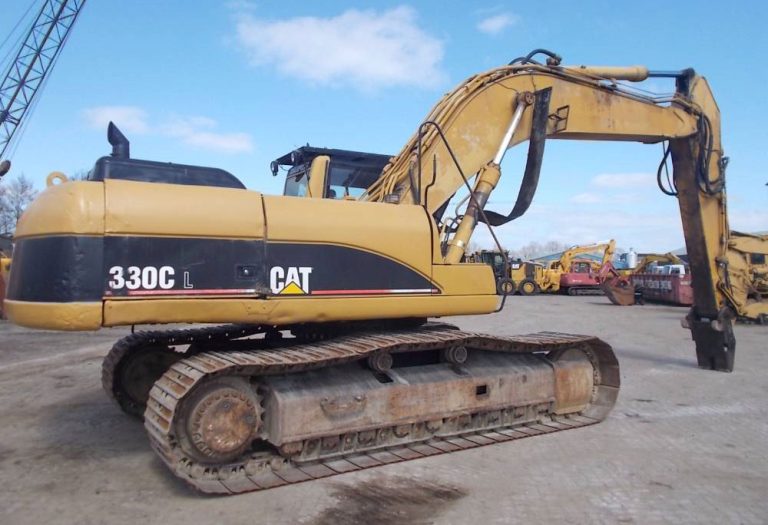
Changing the bucket teeth on an excavator is an important maintenance task that requires careful attention to detail. Here is a step-by-step guide on how to properly change excavator bucket teeth:
Safety Precautions
- Park the excavator on a level, stable surface and lower the bucket to the ground.
- Engage the parking brake and shut off the engine.
- Wear appropriate personal protective equipment (PPE) such as gloves, safety glasses, and steel-toed boots.
Tools Needed
- Bucket tooth removal tool or pry bar
- Hammer
- Wrench or socket set
- Anti-seize compound (optional)
Bucket Teeth Removal
- Identify the bucket tooth that needs to be replaced. Examine the mounting system – it may be a bolt-on, weld-on, or quick-change design.
- If the teeth are bolt-on, use the appropriate wrenches to loosen and remove the mounting hardware.
- For weld-on teeth, carefully pry the tooth away from the bucket using a tool designed for this purpose. Avoid damaging the bucket itself.
- For hydraulic quick-change systems, activate the release mechanism to detach the tooth.
- Once the old tooth is removed, clean the bucket’s mounting surface to remove any dirt, debris, or corrosion.
Bucket Teeth Installation
- Inspect the new replacement tooth to ensure it is the correct size and type for your excavator bucket.
- Apply a thin layer of anti-seize compound to the mounting surfaces (if applicable) to prevent the new tooth from seizing in place.
- Position the new tooth and secure it using the appropriate mounting hardware.
- For bolt-on teeth, tighten the mounting bolts to the manufacturer’s recommended torque specifications.
- For weld-on teeth, carefully position the tooth and weld it in place according to the manufacturer’s instructions.
- For hydraulic quick-change systems, engage the locking mechanism to secure the new tooth.
- Visually inspect the installation to ensure the tooth is properly seated and secured.
Post-Installation Checks
- Operate the excavator’s bucket through its full range of motion to verify the new tooth is functioning correctly.
- Check for any leaks or signs of looseness in the mounting system.
- Retighten any loose hardware after the initial break-in period.
Regular Bucket Teeth Maintenance
Both excavator maintenance and excavator parts maintenance should be done on a regular basis.
- Inspect bucket teeth regularly for wear, damage, and proper mounting.
- Replace worn or damaged teeth as soon as possible to maintain optimal excavator performance.
- Keep bucket teeth well-maintained and properly adjusted to extend their lifespan.
Properly changing excavator bucket teeth requires attention to safety, the right tools, and careful installation. Consulting your equipment manufacturer’s guidelines can also help ensure the job is done correctly.


