How to Maintain Your Excavators (For Beginners)
Keywords: excavator demolition attachments, mini excavator breaker

Excavators are essential for businesses engaged in heavy lifting, material handling, dredging, and demolition jobs. While they look rugged, they still require maintenance to keep them in good working conditions. It’s better to allocate resources for excavator maintenance costs than pay for costlier repairs later on.
Also, if you want your excavator to last as long as possible, you must know how to maintain it properly. The most important thing to remember when you’re cleaning and maintaining your excavator is that you should always check all lubrication points. This includes the oil pan, oil filter, fuel filter, hydraulic fluid reservoir, and transmission fluid dipstick. You should also check your grease fittings and grease them if necessary.
It would help if you also inspected all bearings on your machine regularly. If there’s any damage or wear-and-tear on them, you’ll need to replace them before they fail.
If you’re an excavator operator, you already know that keeping your machines in good working condition isn’t just about safety. It’s also about efficiency and productivity—which is why it pays to follow these simple steps to make sure your excavators are in top shape at all times:

Inspect your bearing bushings regularly
Bearing bushings are a part of the excavator’s track system and are responsible for transferring power from the tracks to the machine. They’re usually made of steel or aluminum. They wear out quicker than other parts of an excavator machine because they’re constantly being subjected to friction with moving parts inside your tracks.
To check them, crawl underneath your excavator while it’s parked on level ground. In most cases, you would see three bolts holding each bushing in place: two at the outside edges and one at their center point.
Remove these bolts using adjustable or crescent wrenches, depending on your available tools; pull out each bushing individually so that you can inspect its condition thoroughly with a flashlight or headlamp. If you notice any cracks or signs of damage, such as discoloration or excessive wear along either side where two pieces meet — replace those immediately.
Check all lubrication points
When you’re at the beginning of your excavator maintenance, check all the oil levels. This will ensure that they are filled with the correct amount of oil and don’t need to be topped off later.
More than any other piece of machinery, excavators require diligent maintenance. If you don’t keep up with oil changes and other routine maintenance, you could be looking at a costly repair bill. So what should you do to maintain your excavator?
Regularly check the oil, coolant, transmission fluid, and hydraulic fluid levels. You can use a dipstick to check these levels or a specialized tool called an oil-dipstick indicator that will tell you exactly how much oil is in the machine. Remember that while you need to keep your excavator lubricated, it’s also dangerous to over-grease them. Make sure that you keep everything at the appropriate level.
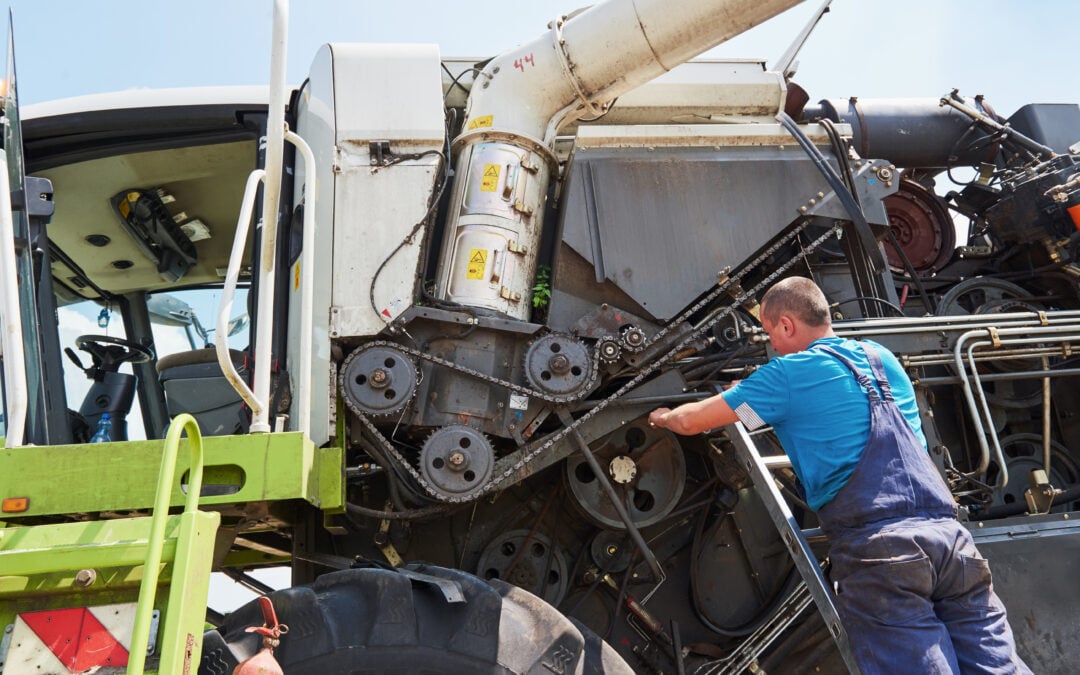
Inspect the engine and exhaust system. Inspect these areas for leaks regularly to prevent damage from occurring later on. Check belts for cracks or wear marks every few months. If you see cracks or wear marks on your belts, replace them immediately so they don’t break during operation.
Check your hydraulic pumps, valves, and actuators
You can maintain your hydraulic components and extend your excavator lifespan with a few simple checks. First, check for leaks in the system. If you notice any signs of oil or coolant on the ground near your excavator, check to ensure there isn’t a leak in one of your hoses or connections.
Next, make sure that the pressure is proper. The correct pressure level should be written on a decal inside the cab and will vary depending on the equipment you’re using and what kind of work it’s doing.
Suppose you notice too much or too little pressure is sent through the lines. In that case, adjust accordingly until everything reaches an acceptable level again. Finally, ensure that there isn’t any flow restriction caused by clogged filters or damaged lines while checking out flow rates at various pressures.

Check hoses, belts, and bucket teeth
Check each hose to ensure they are free of cracks or breaks. Also, check them for signs of wear and tear. If you see any signs of being worn out, you should replace them with new ones as soon as possible. A worn hose can cause damage to other parts of your excavator.
Likewise, if there are cracks in any of the belts that run through your excavator’s engine, it is best to replace them before they break entirely and cause severe damage to other parts. Finally, look at each tooth on the bucket carefully to see if there are any chips or dents (even tiny ones). Those chips or dents will eventually lead to more significant problems when larger pieces break off.
Check for proper boom swing, swing speeds, and swing brakes
Boom tilt is the angle of the bucket or the arm when it is at its lowest point. It’s necessary to check that this angle falls within the manufacturer’s specifications; otherwise, you can damage your equipment. You should also check how fast your excavator moves horizontally when moving forward and backward and how fast it moves vertically when traveling across slopes or hillsides.
Swing speed is measured in feet per minute (fpm). It’s essential to ensure this number falls within the manufacturer’s specifications. If not, repairs could be required on your machine soon after purchase. Additionally, any extra wear caused by excessive movement will increase costs associated with maintenance down the road.
Monitor air filter maintenance closely
Air filters can be essential to your excavator’s engine. If you don’t maintain your air filter, it can cause severe damage to the engine and even make it stop working altogether.
To change an air filter, you need to remove any debris that clogs the filter by removing the top of the hood and cleaning it with water. Brush it if there is still a lot of dirt on the surface after cleaning. In that case, you might have to use compressed air to remove all dirt between the blades within the filter assembly. Do this before sealing off replacement Mass Air Flow (MAF) housing back into place with new gasket material around the edge where metal meets plastic frame bodywork case.
Remove the old filter from the housing using screwdriver or wrench (depending on the model). Make sure not to scratch surfaces when removing fasteners that hold together this component inside the machine housing box.
Clean the engine compartment and fan belts
This is easy to do and will help you avoid repairs down the road. Start by vacuuming out any debris from around the engine, then use a spray bottle filled with warm water and soap to wipe away any stubborn dirt or grime on metal surfaces where oil can leak out. Ensure all cables are properly secured as well—loose threads could cause an accident.
Worn-out fan belts are a big reason engines overheat, so ensure they’re in good condition before using an excavator again after being stored in cold weather (or even during storage). It’s also worth double-checking that all other belts fit snugly—loose belts can cause damage over time when they start slipping off their pulleys because they can’t support their weight anymore!
The Bottomline
There are many ways to maintain your excavators and ensure they last as long as possible. The most important among these is to stay on top of scheduled maintenance and check for any warning signs that might signal a problem with the machine. If you notice any issues, get them checked out by a professional before they become more severe and potentially expensive to repair. Make it easier for your business to cover the excavator service cost by appropriating funds for it.
You should never forget that your equipment is an investment—you want it to last as many years as possible to continue making money with it. The best way to ensure this is by taking care of your excavators from day one.


